 Korean
What is Visit Japan Web?
One QR code. That’s all you need.
Complete pre-registration handles both immigration inspection and customs clearance with a single QR code — no paper forms, no queues at the counter.
Japan is one of the most visited destinations in the world. Many travelers still fill out paper landing cards on the plane or scramble to complete customs declaration forms just before arriving at immigration — and some budget airlines no longer even provide paper cards at all.
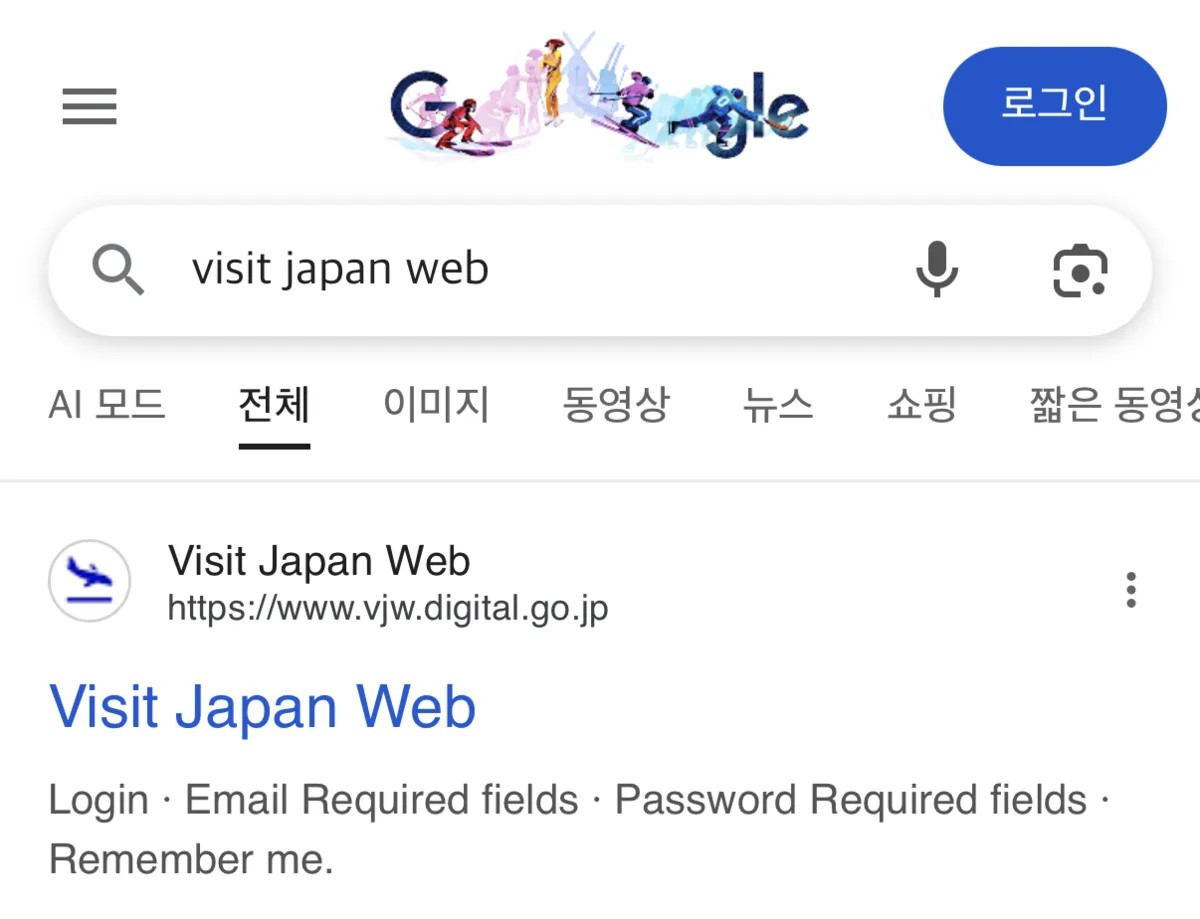
Visit Japan Web is the Japanese government’s digital pre-registration service. By registering in advance, you can generate a single QR code that covers both immigration and customs — no paperwork required at the airport.
Always access the service by searching “Visit Japan Web” directly on Google. There are fraudulent Korean-language sites that charge a fee — avoid them. The legitimate URL is https://www.vjw.digital.go.jp — only use the official government site with “go.jp” in the address.
In earlier versions of the system, immigration and customs each required separate QR codes. Now they’ve been merged into one, making the process significantly smoother.
When you land, you’ll only need two things: your passport and the QR code on your phone.
Note: there is no app — everything is done through the website only.
Requirements and Sign-Up
The website is available in multiple languages including English. Select your preferred language on the home screen.
What You’ll Need
- Passport (at least 6 months validity remaining)
- Accommodation details in Japan (hotel name and postal code)
- Flight information (e.g., “KE2101, Korean Air Gimpo–Haneda”)
- Email address (for account creation and login)

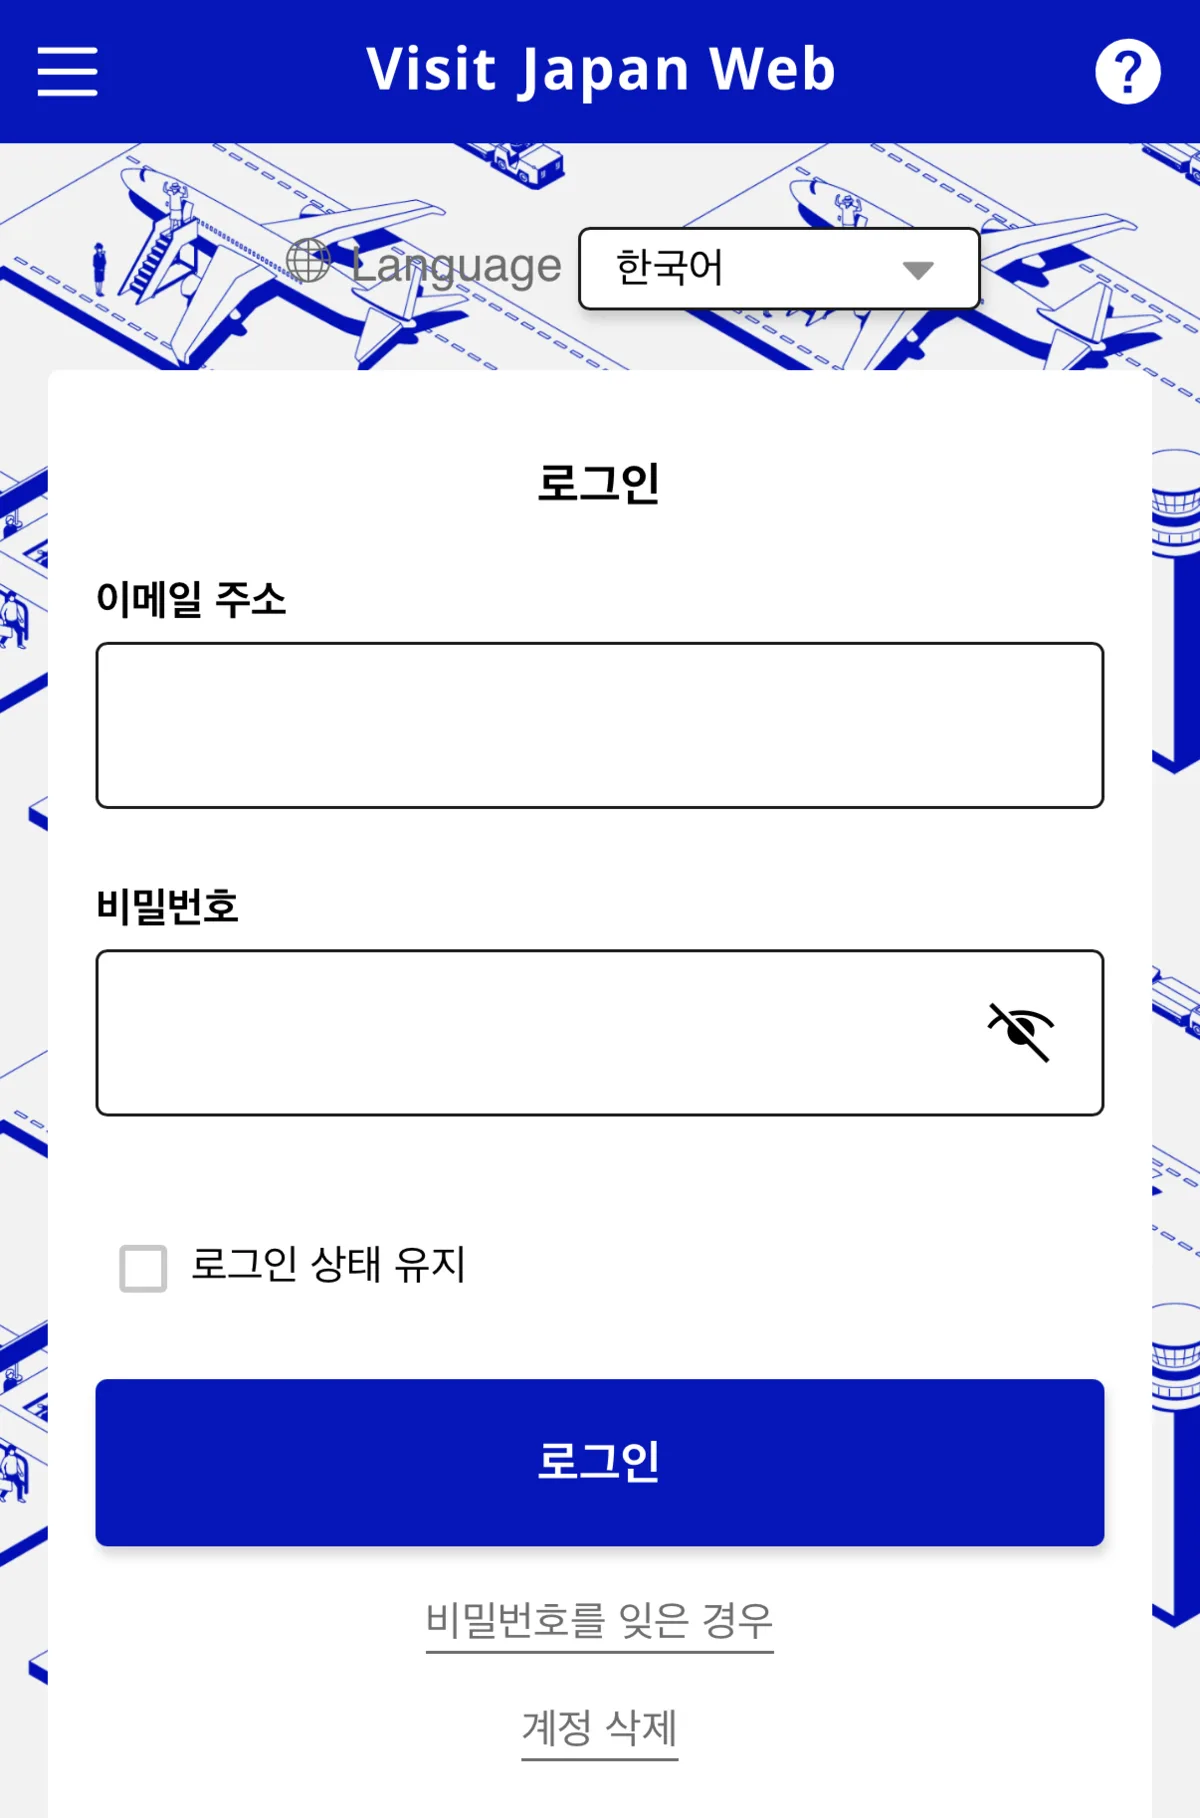
If you don’t have an account, sign up using just your email address.
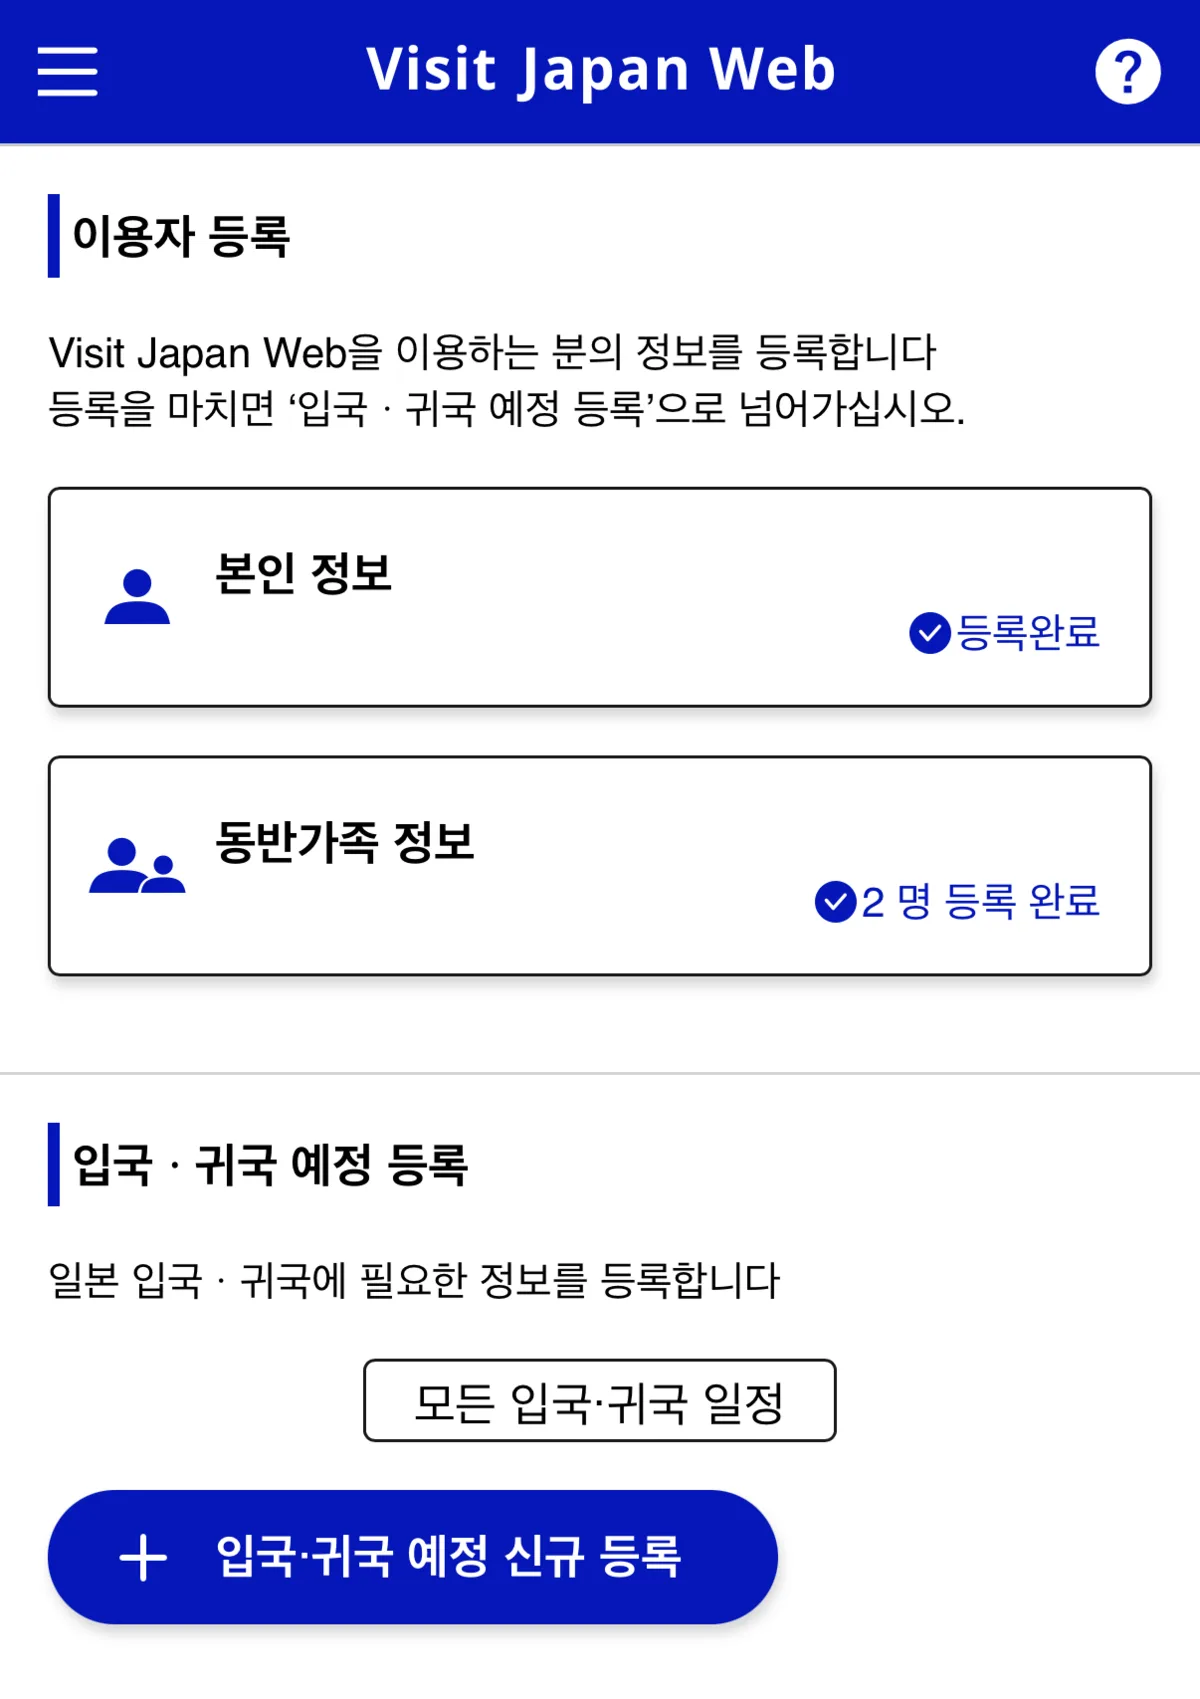
After logging in, you’ll land on the home screen. If you’re traveling with family or friends, you can register them here as companions.
Registering Companions
To add a companion, go to “Companion Information” and tap the + Add button, then follow the prompts.
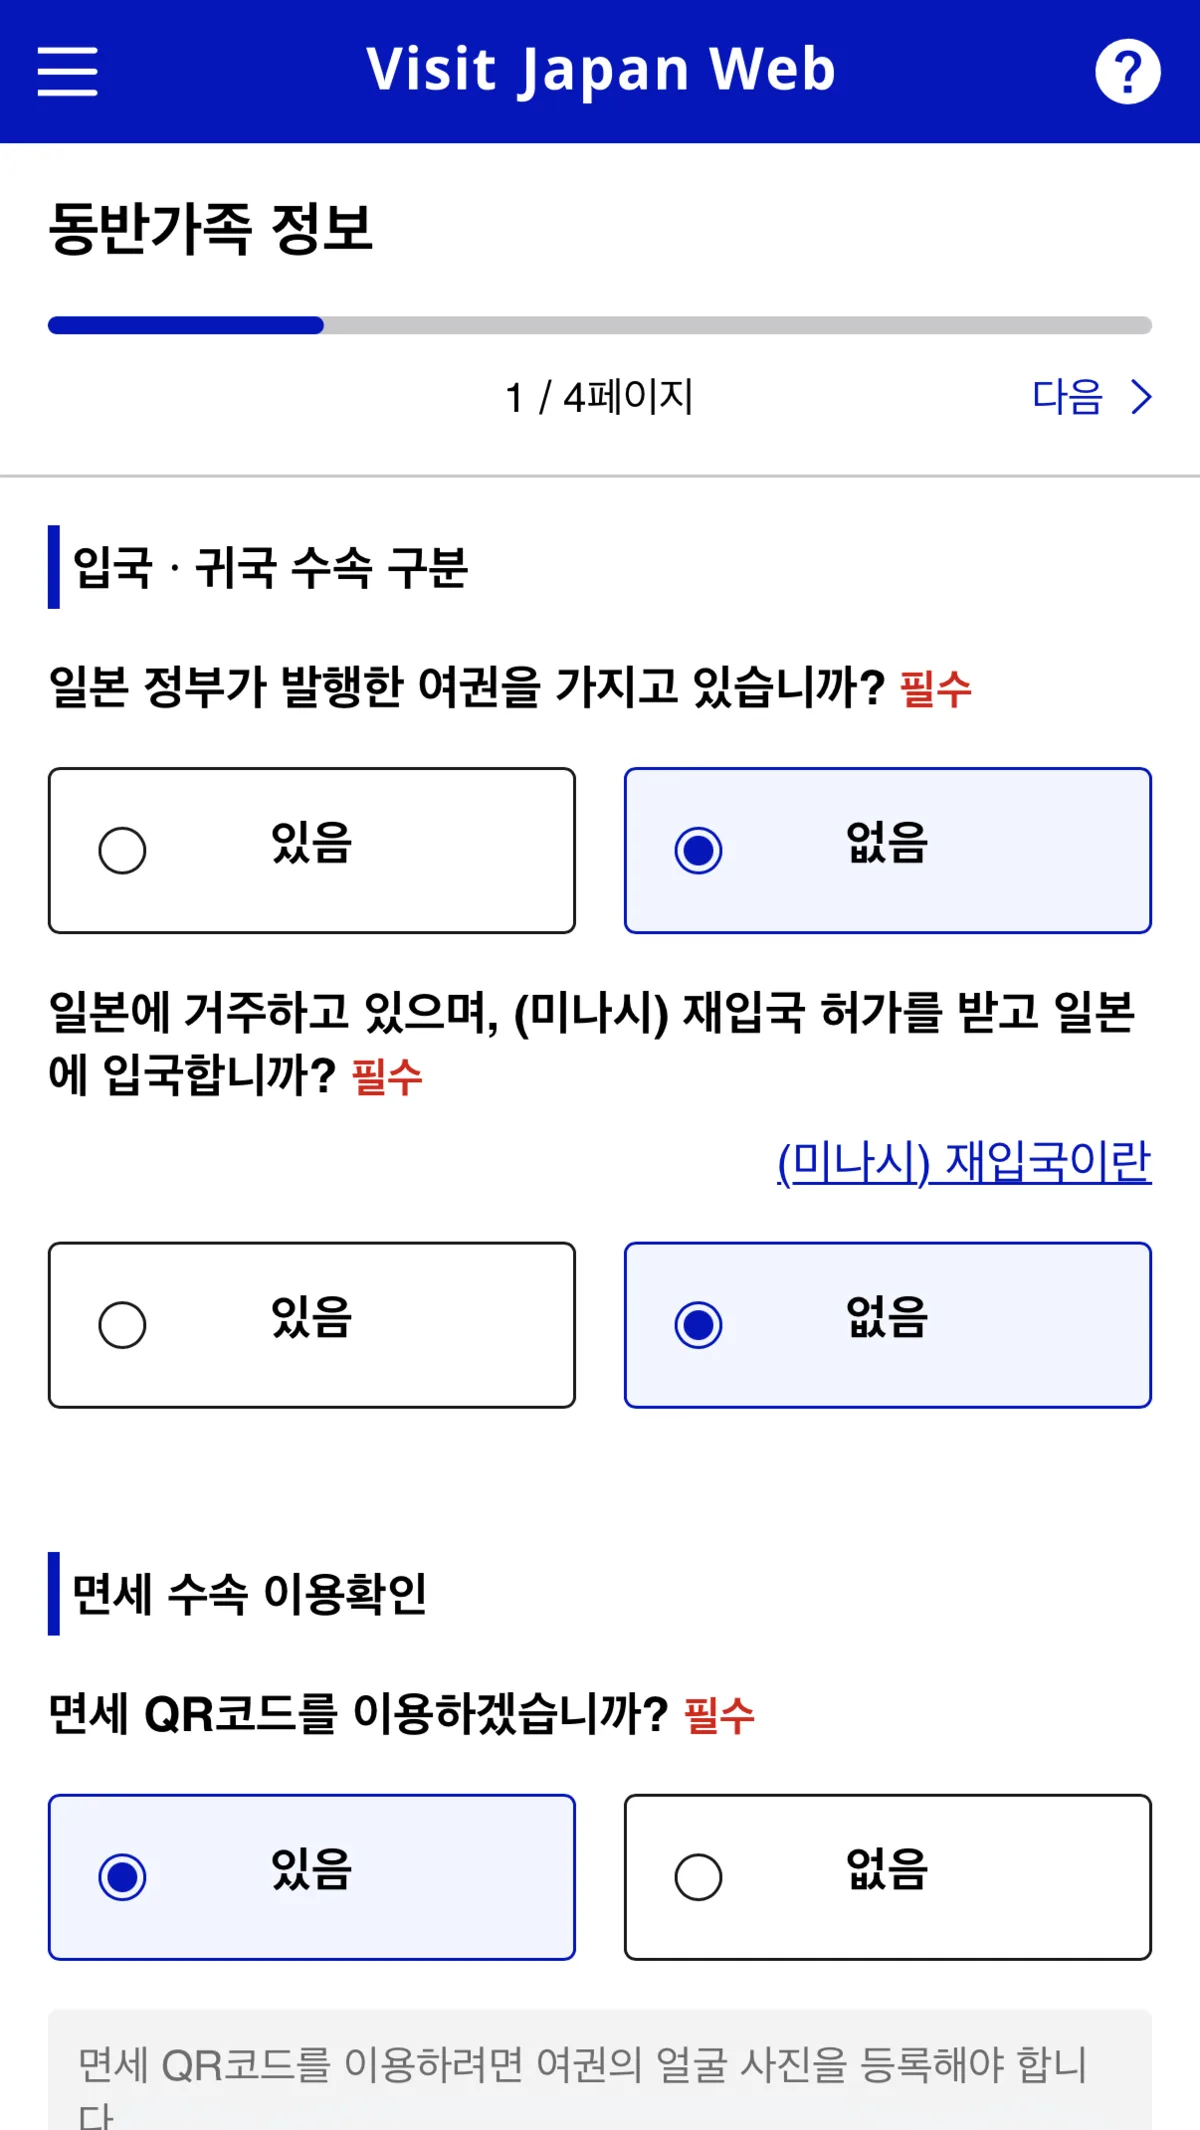
When asked “Would you like to use a duty-free QR code?”, select Yes.
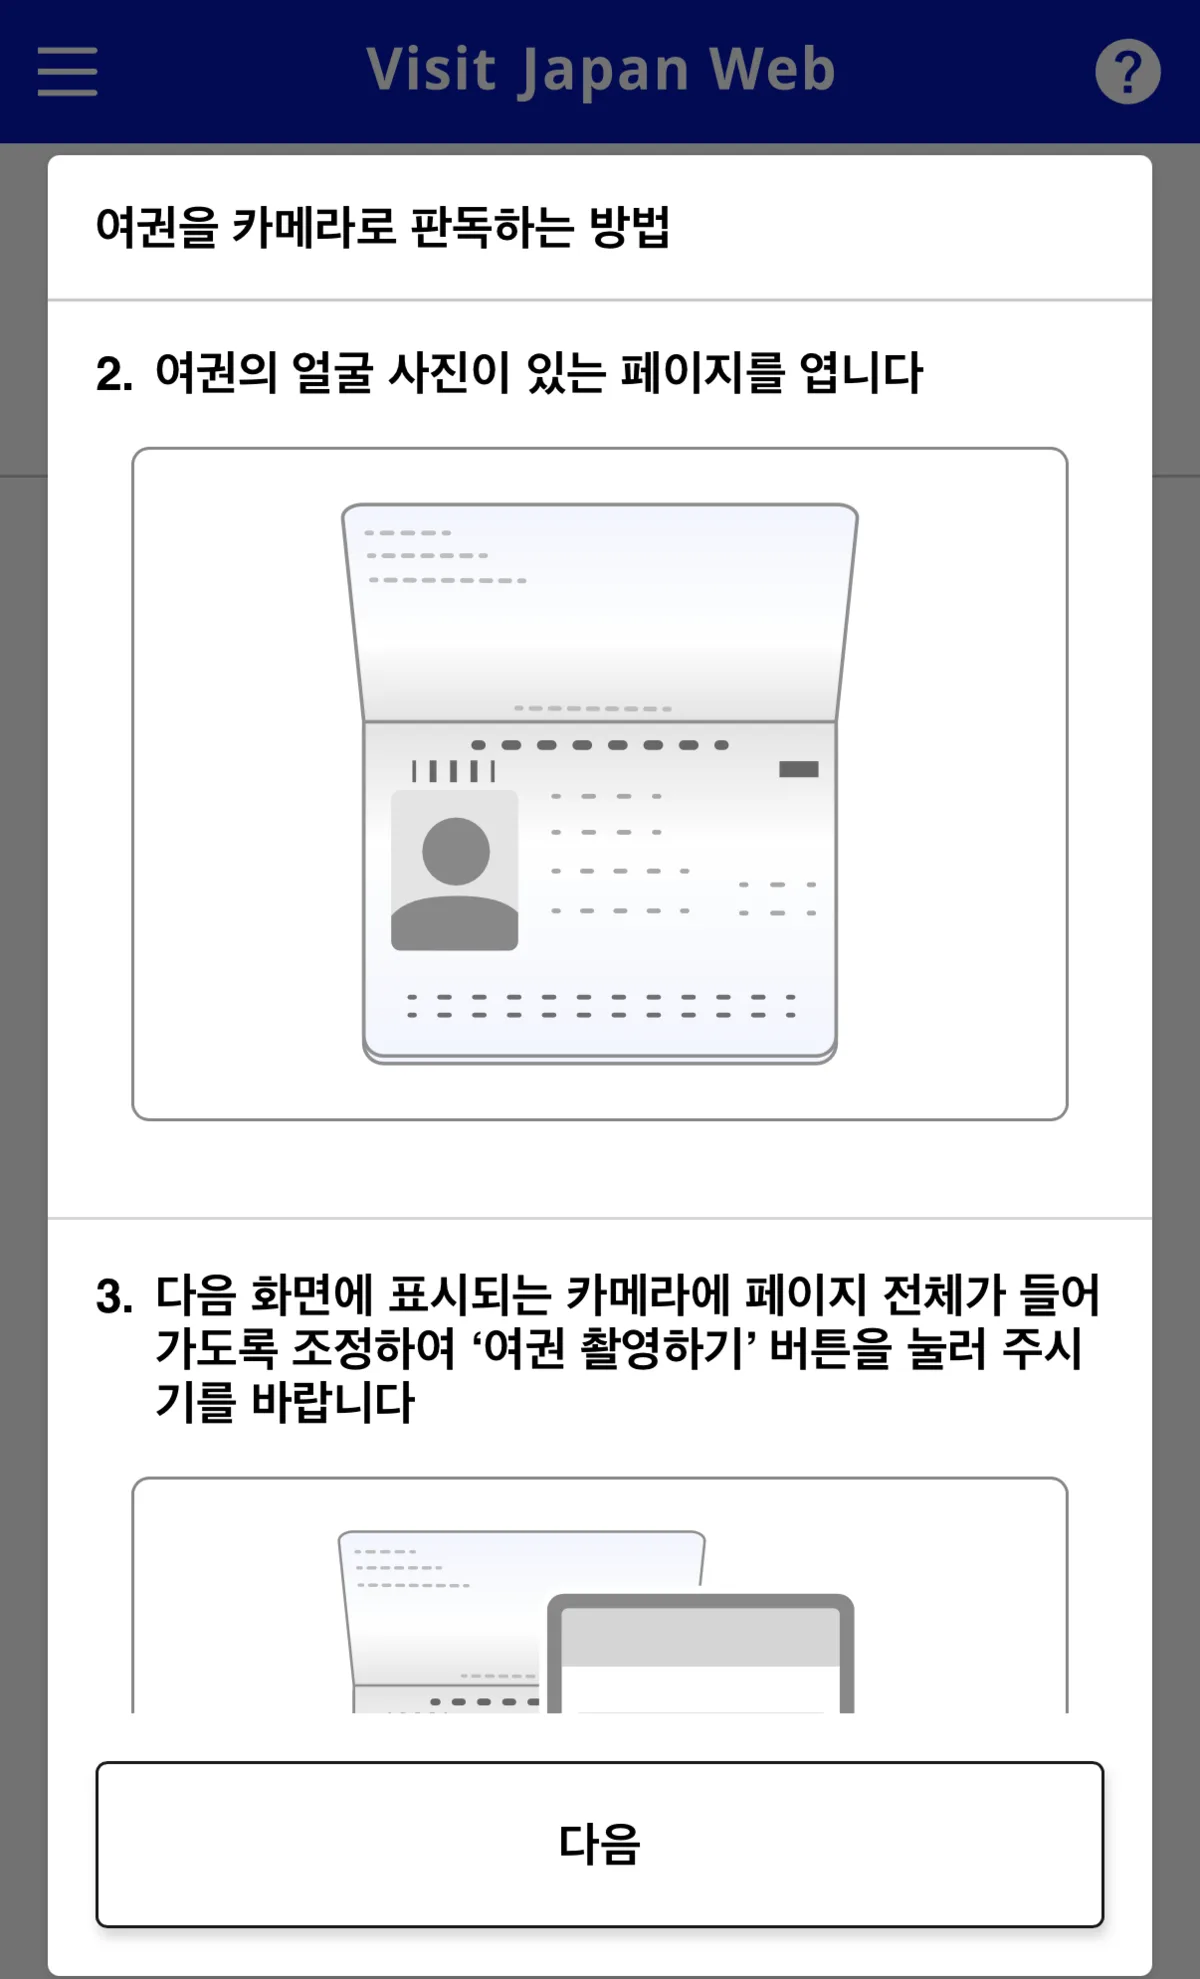
A passport registration screen will appear. Grant camera permission and follow the instructions to photograph your passport — the details will be filled in automatically. Review the auto-filled information for accuracy before confirming.
Once passport details are registered, companion registration is complete.
Up to 10 companions can be registered.
Registering Your Trip
Back on the home screen, tap Register New Entry/Return (shown in blue).
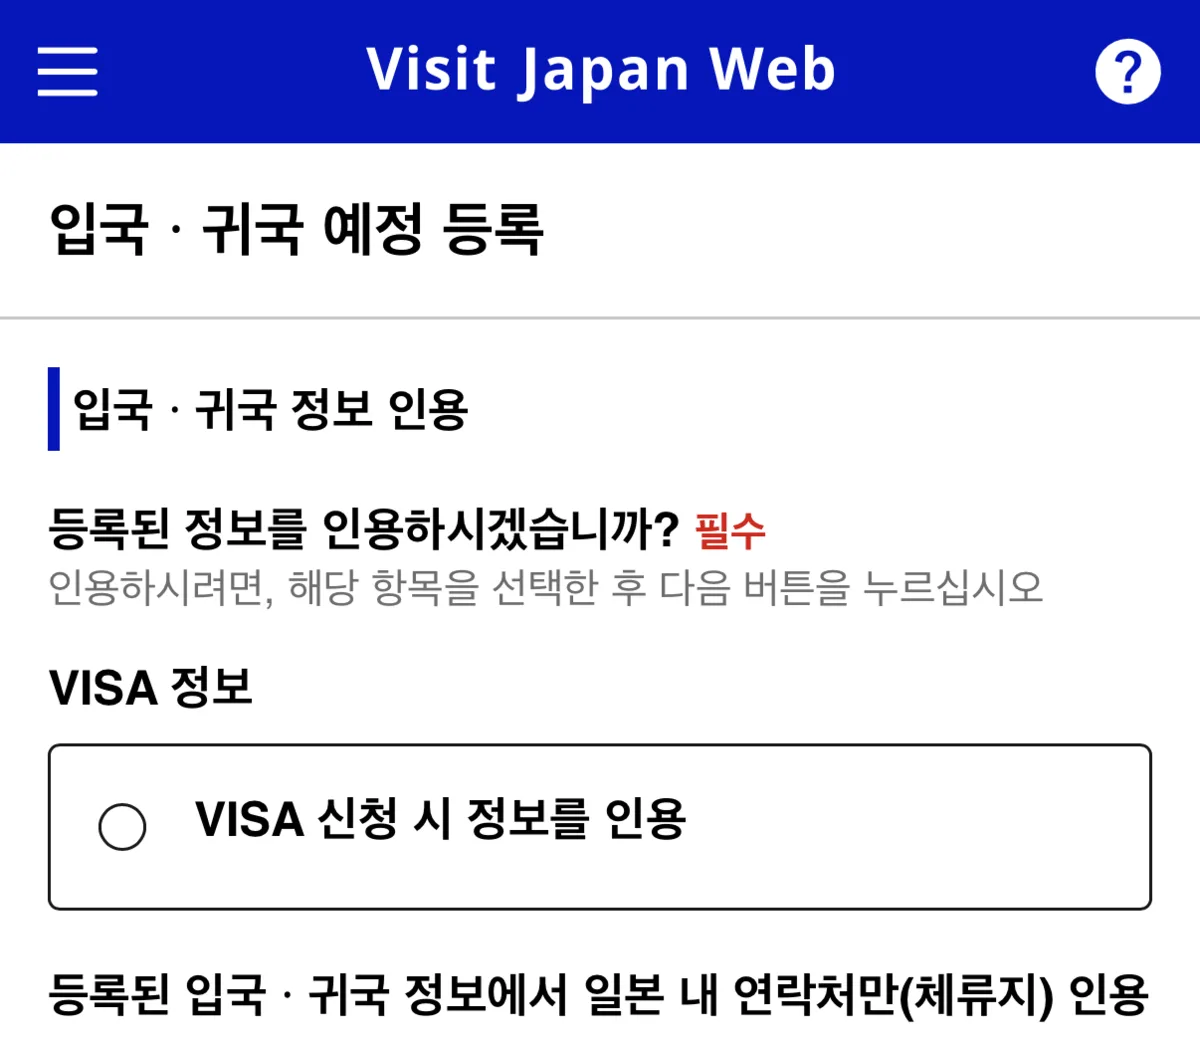
Do not select the “Use VISA application information” option — travelers from most Western countries can enter Japan visa-free for tourism.
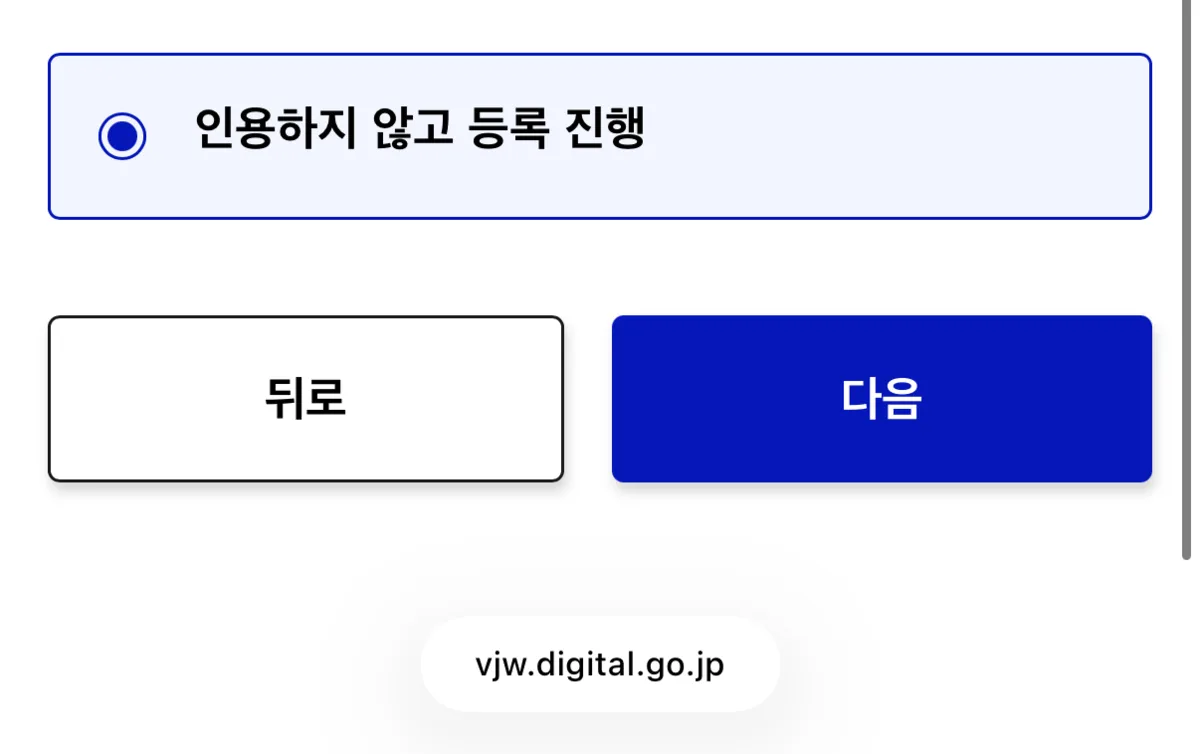
If this is your first registration, select “Register without referencing previous data.”
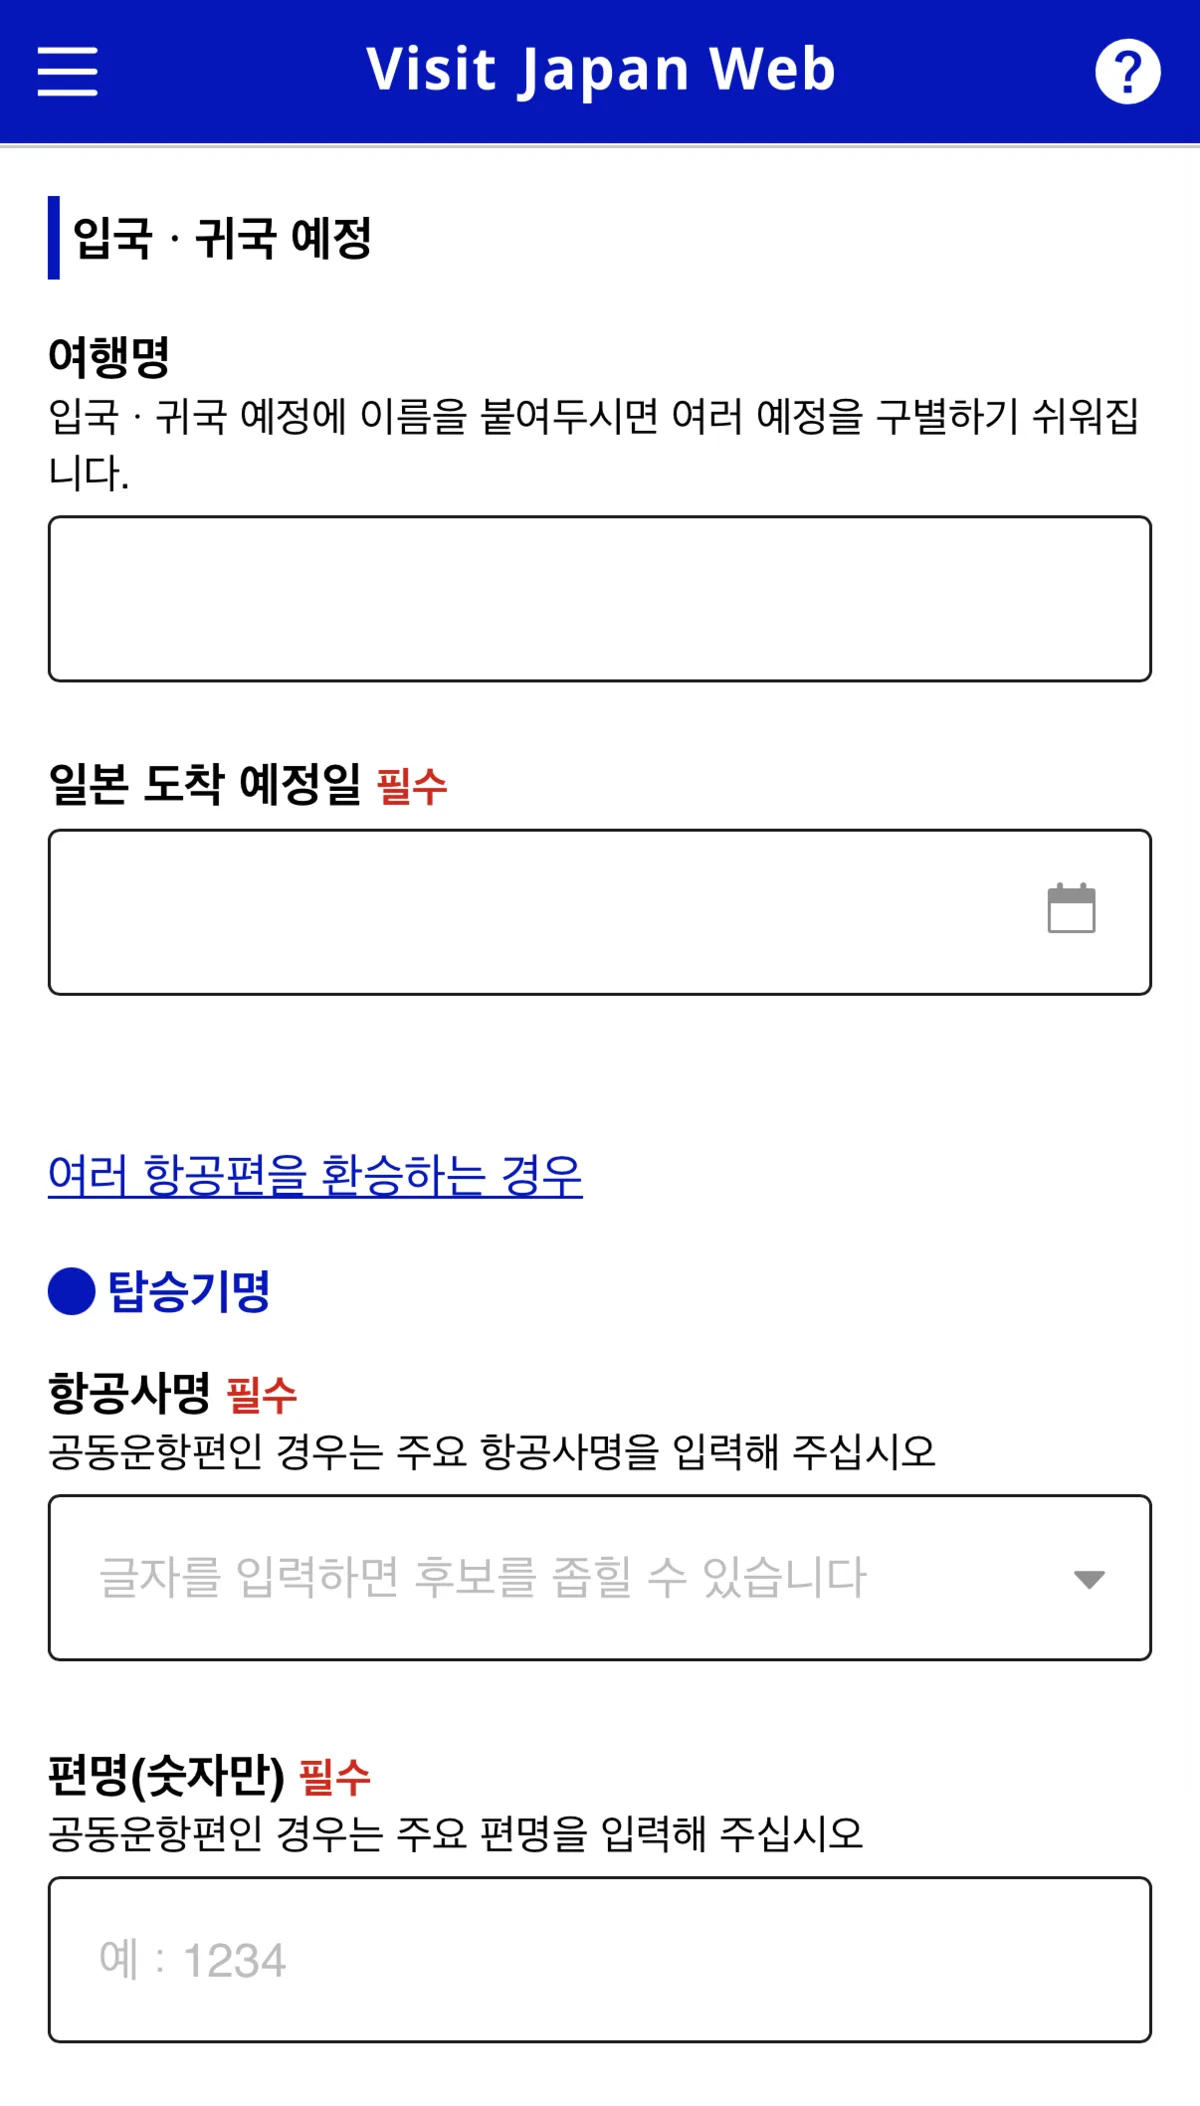
For the trip name, I usually enter something like “260101TOKYO” with the date for easy reference.
For the airline field, common IATA codes include:
- KE — Korean Air
- OZ — Asiana Airlines
- TW — T’way Air
- 7C — Jeju Air
- LJ — Jin Air
- JL — Japan Airlines
- NH — ANA
Enter the two-letter airline code and the full flight number for quick input.
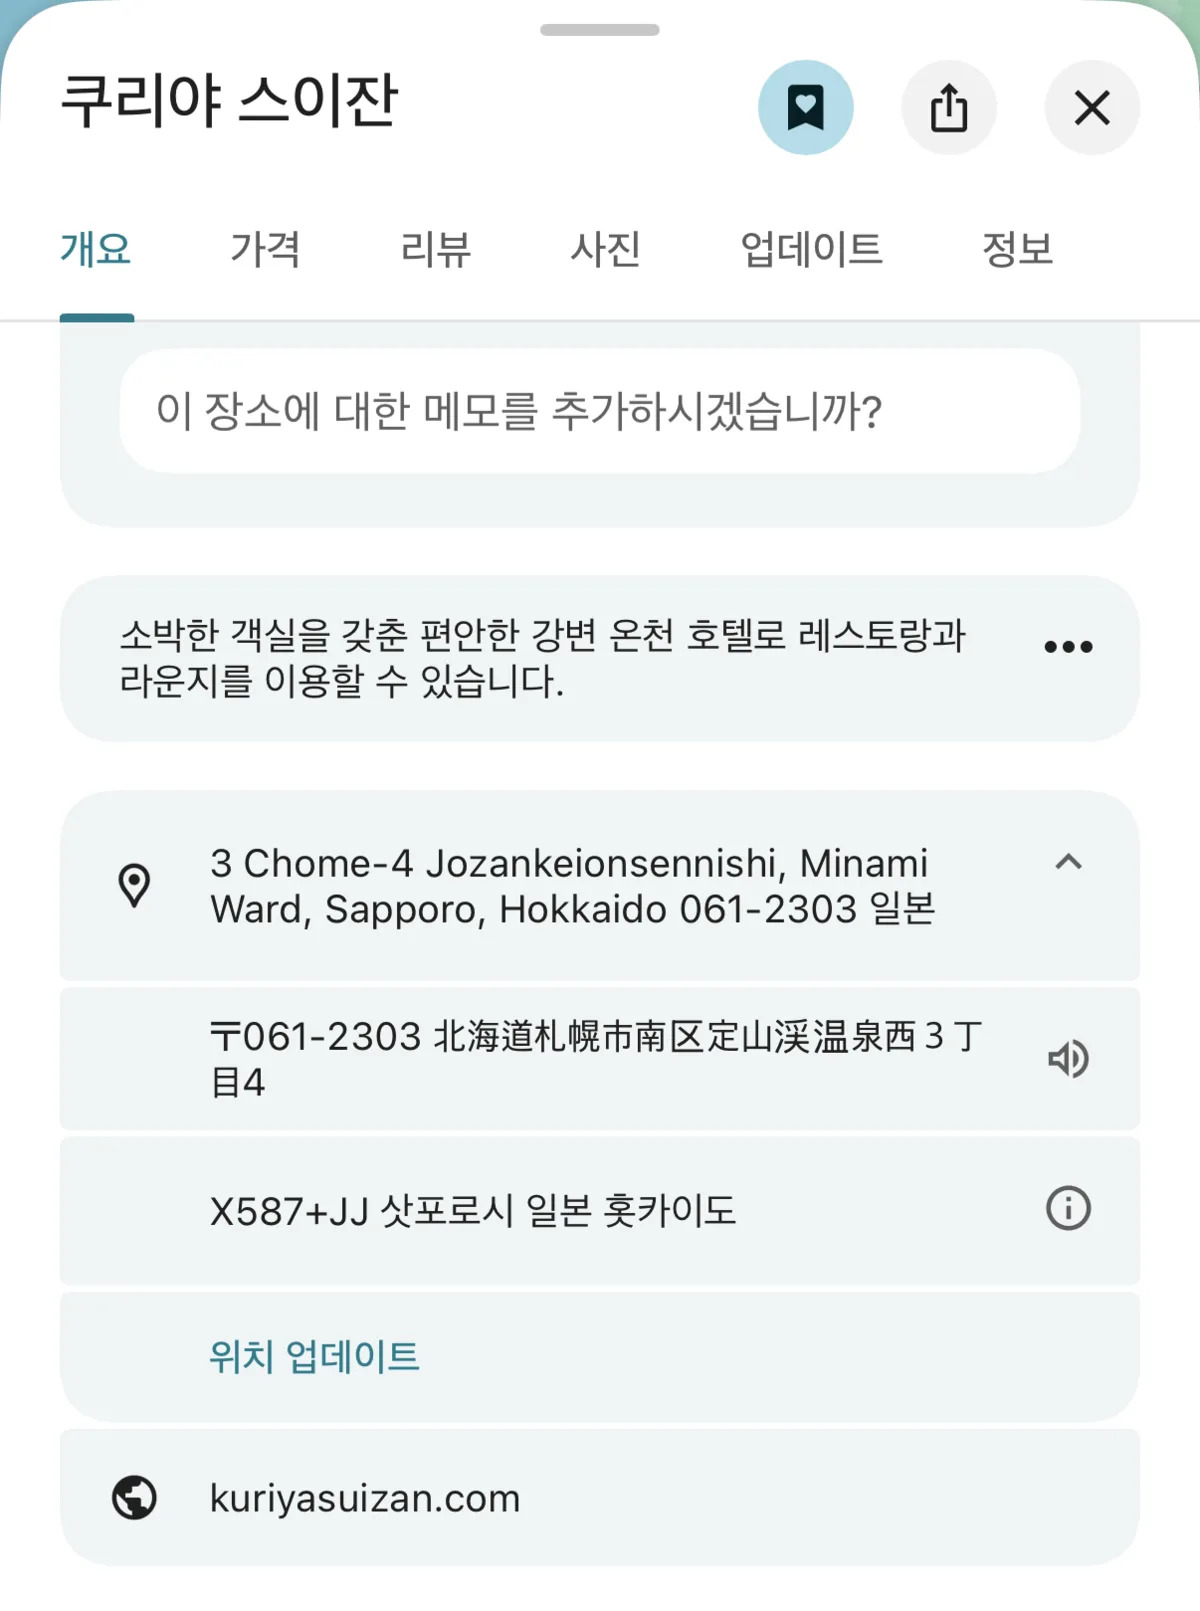
Accommodation Postal Code
For your accommodation address, search your first hotel on Google Maps, scroll down to find the postal code, and enter it without the hyphen. Tap “Auto-fill from postal code” and the address will populate automatically.

The hotel name field is optional for this step, but you’ll need it later for the customs declaration — better to fill it in now.
For the Japan contact number, enter your mobile number in the format: 8110-XXXX-XXXX (replace the leading 0 in your number with 81).
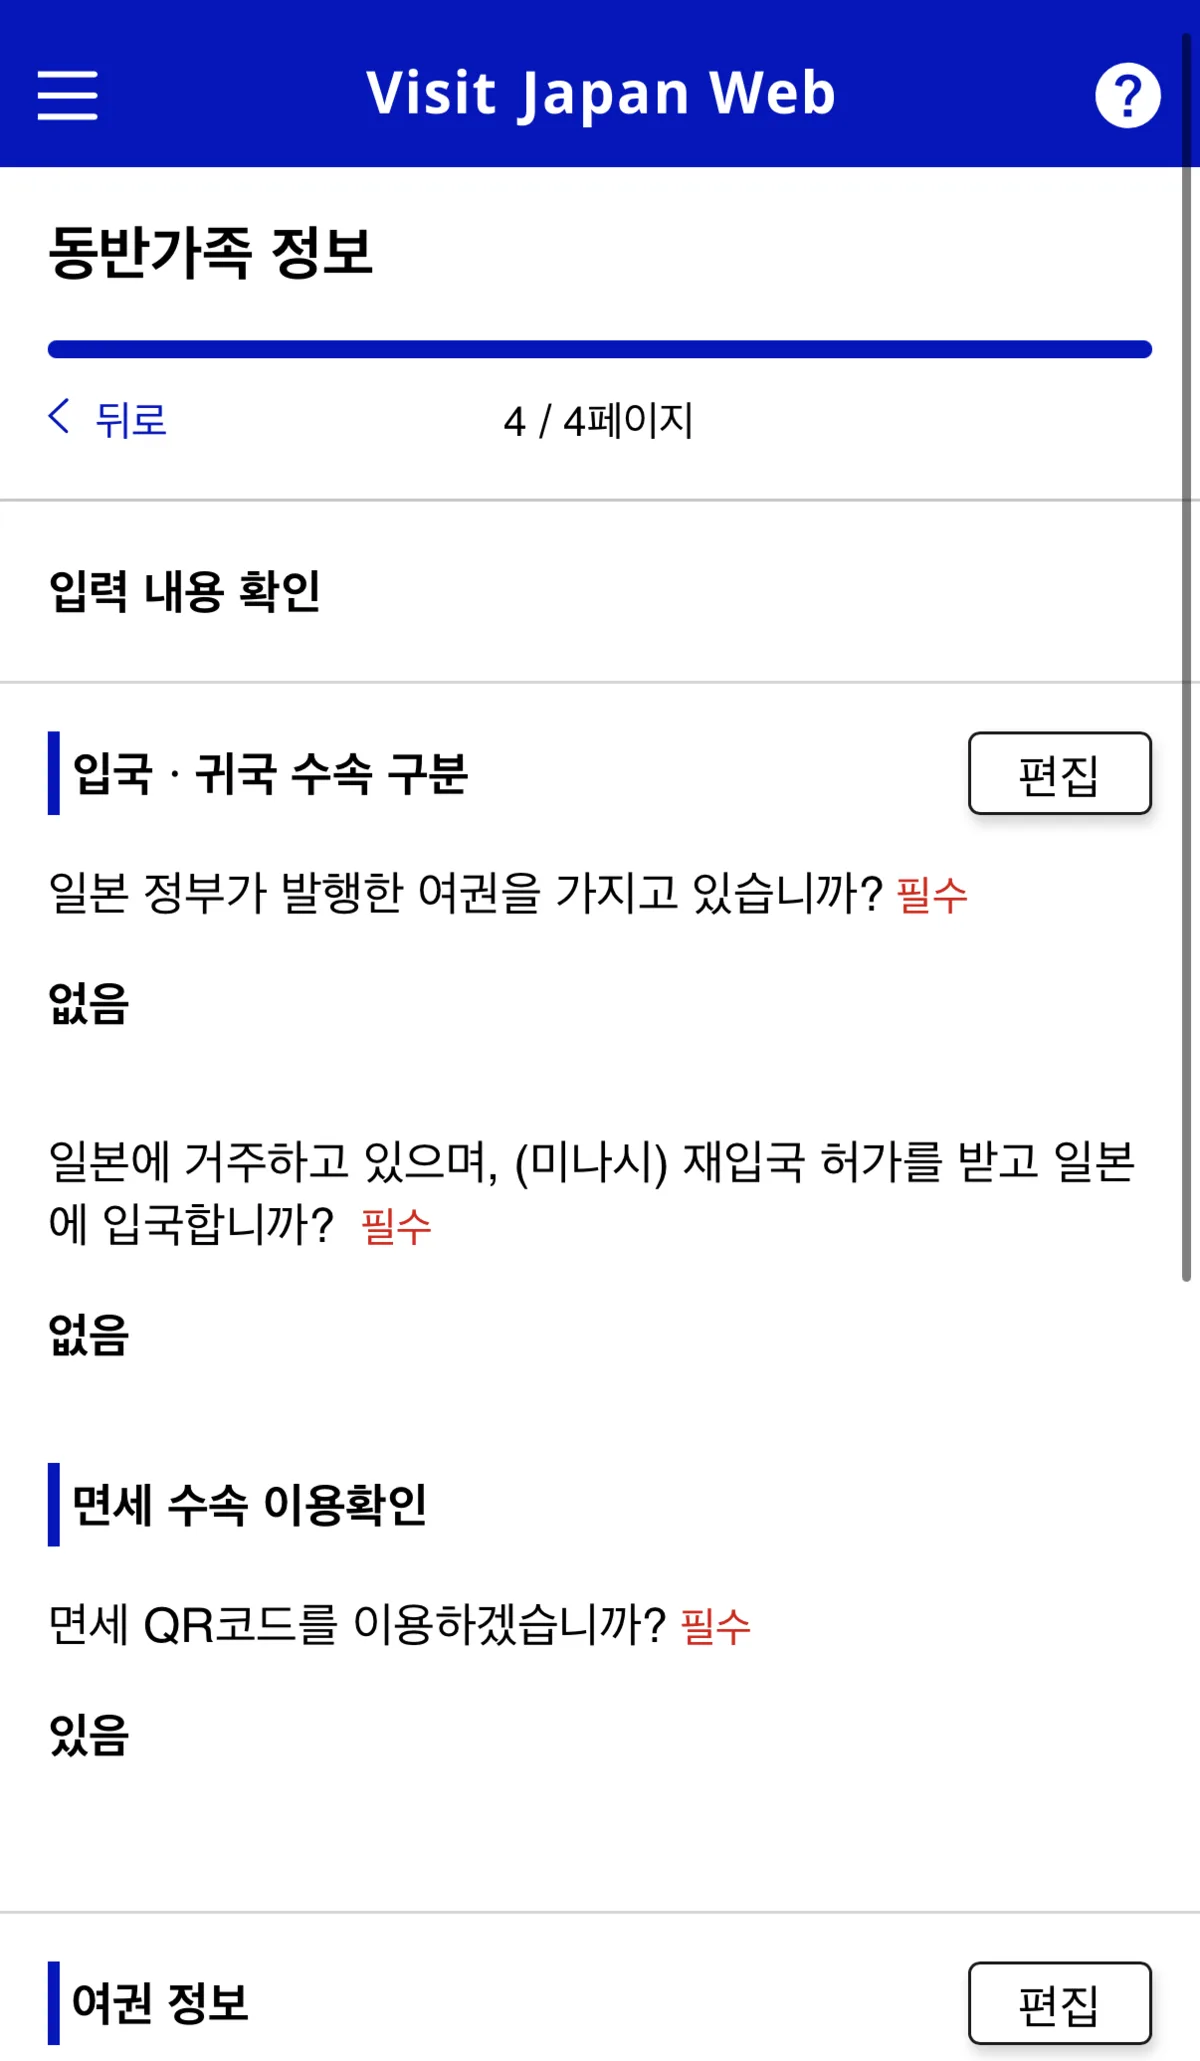
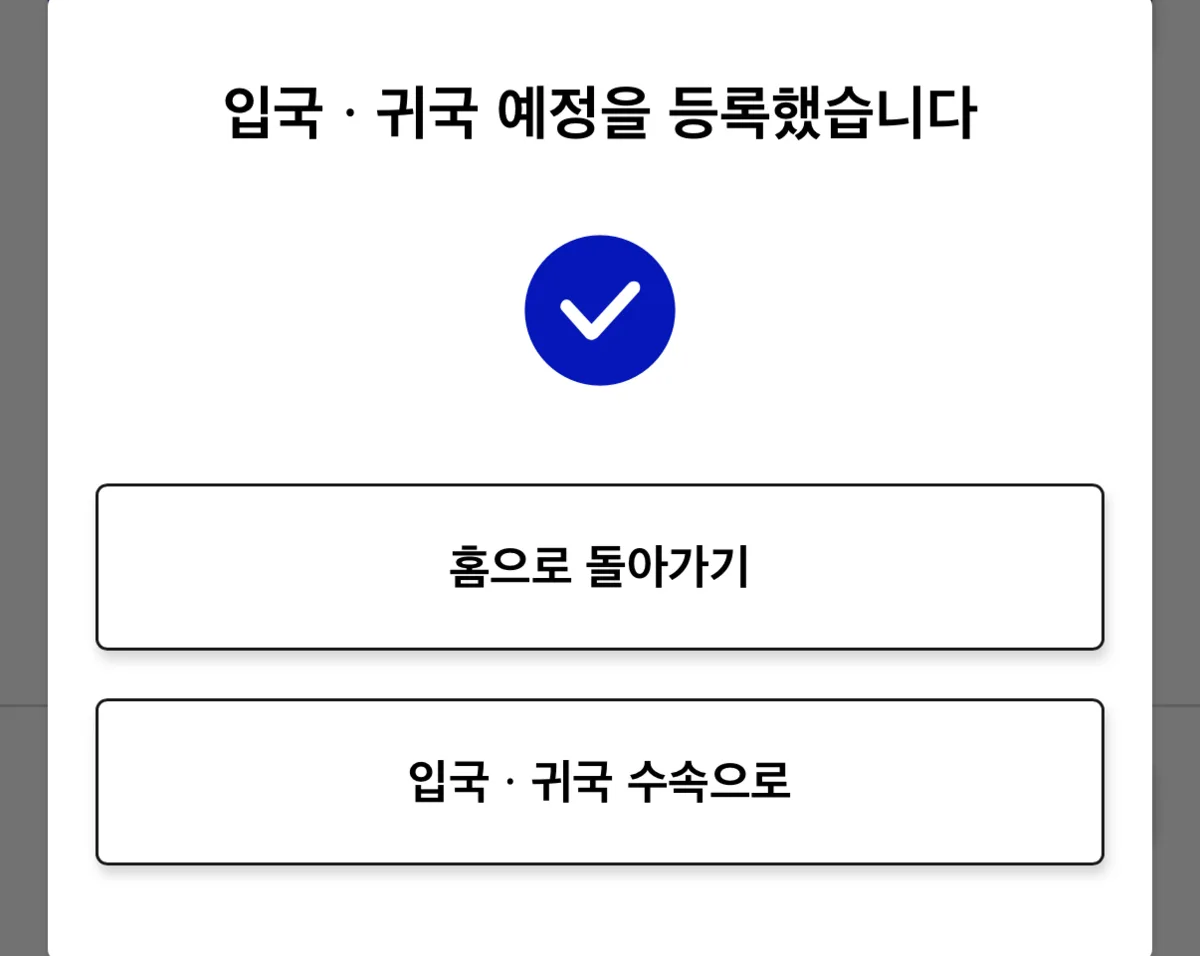
If you registered companions, select them here and then confirm the trip registration.
That’s the entry information done. The final step is completing the customs declaration.
Customs Declaration
From the last page, tap “Entry/Return Procedures.”
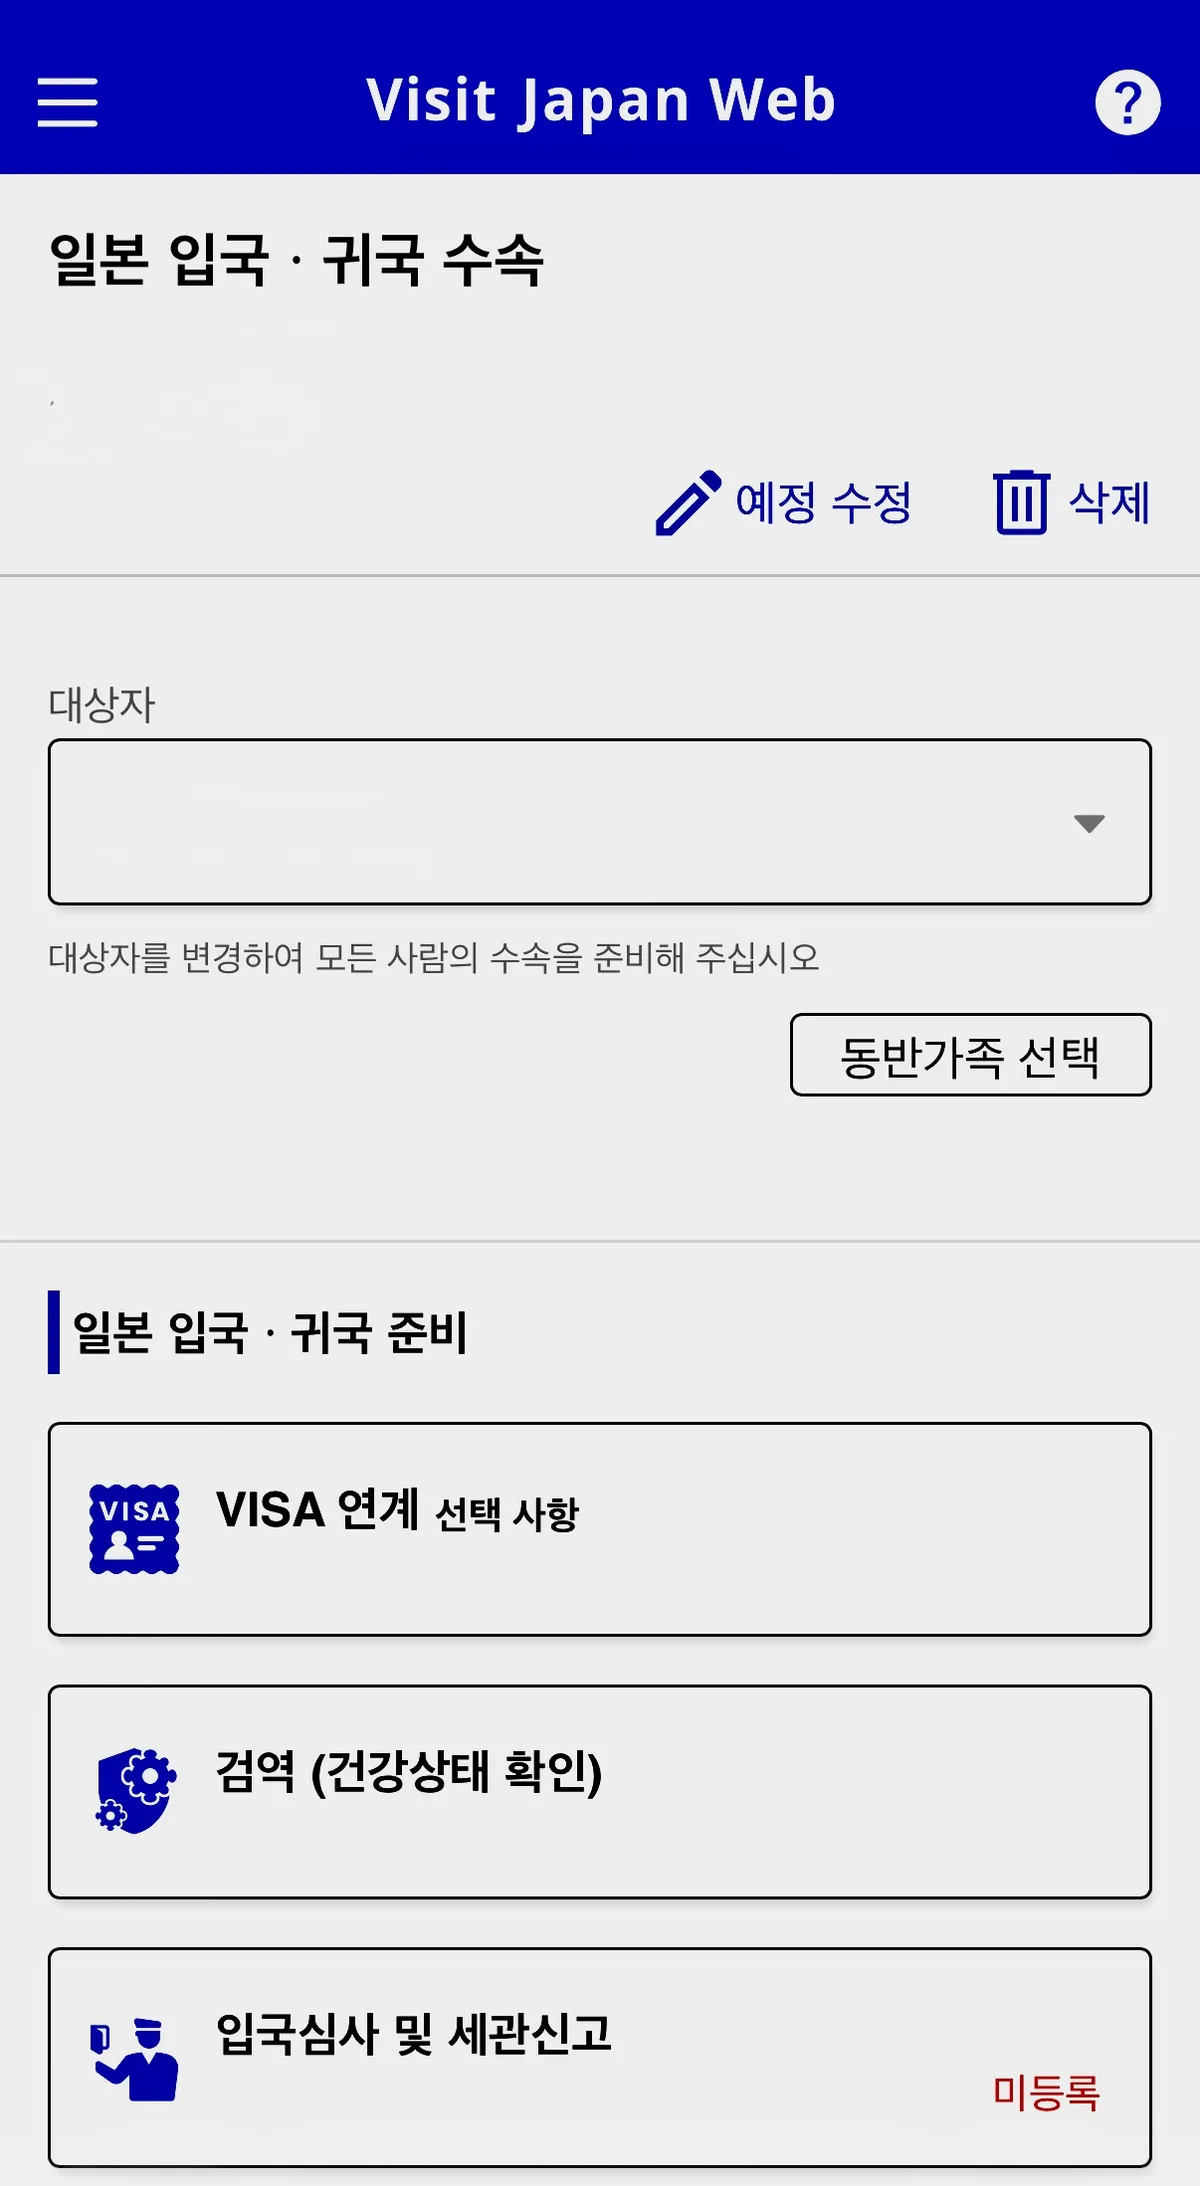
You’ll see “Immigration and Customs Declaration — Not Registered” in red. Tap it.
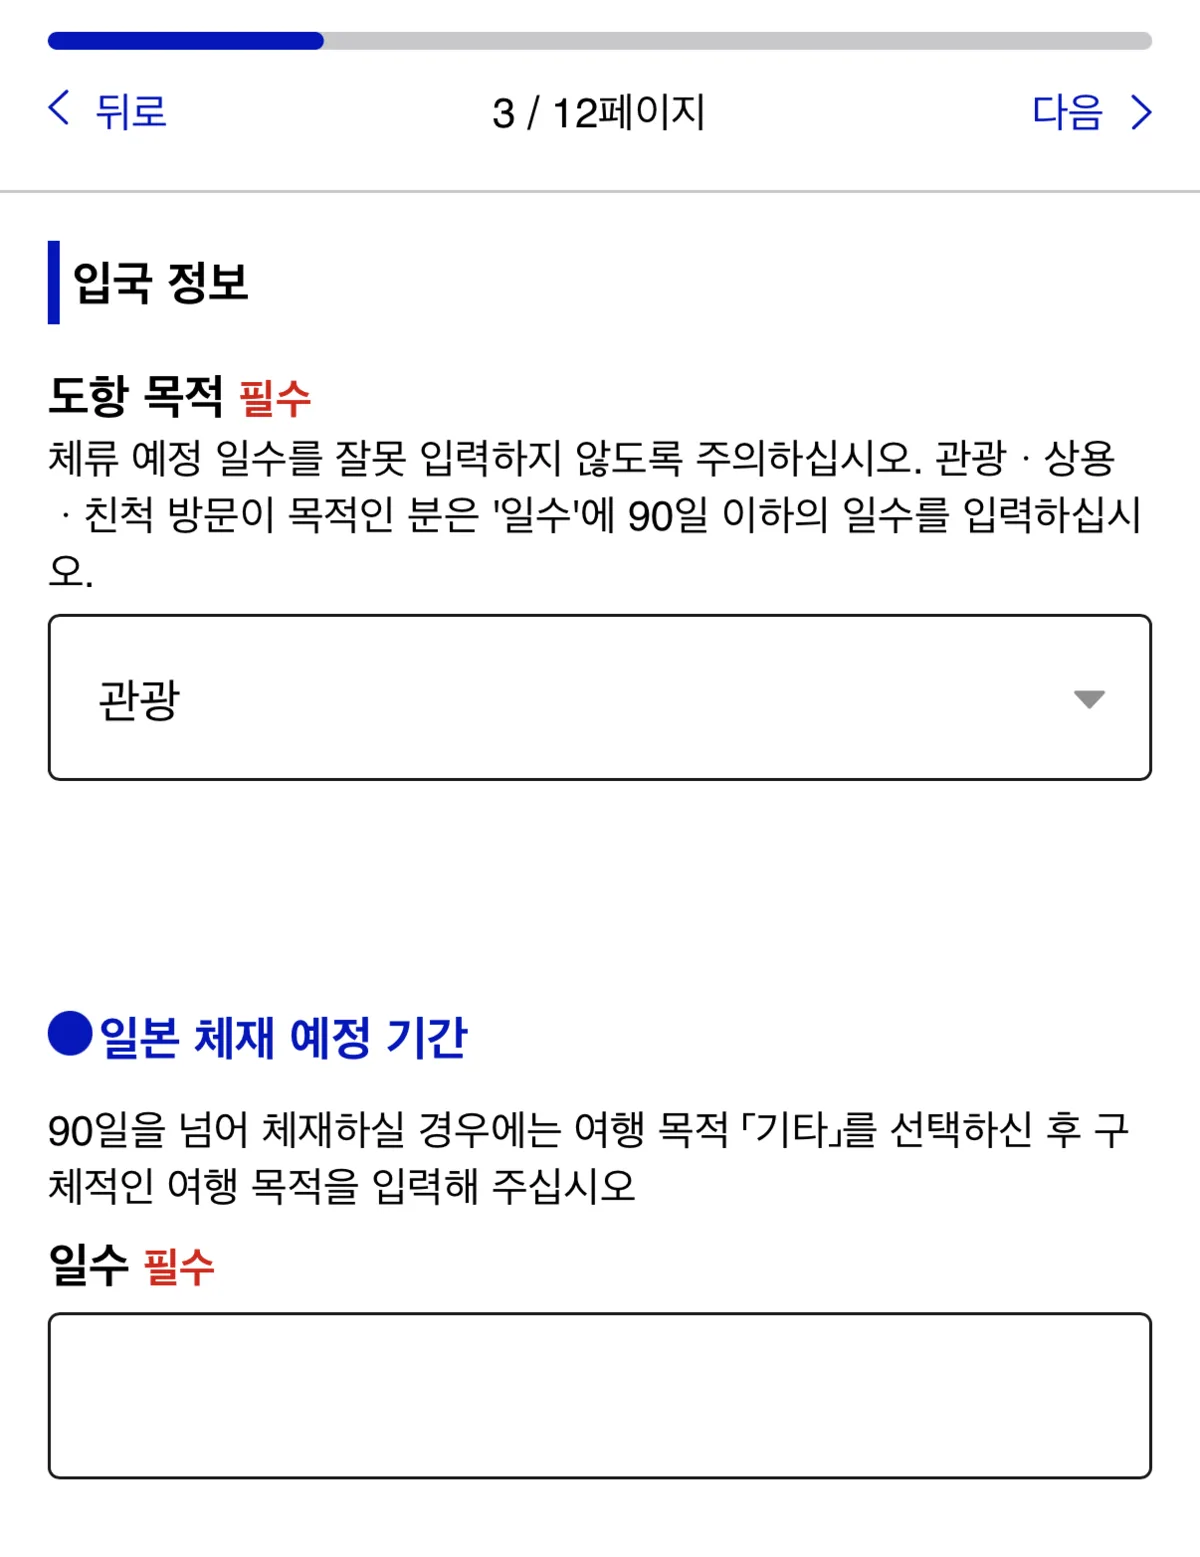
From here, just follow the steps. For purpose of visit, select Tourism. If you’re staying 3 nights and 4 days, enter 4 for number of days.

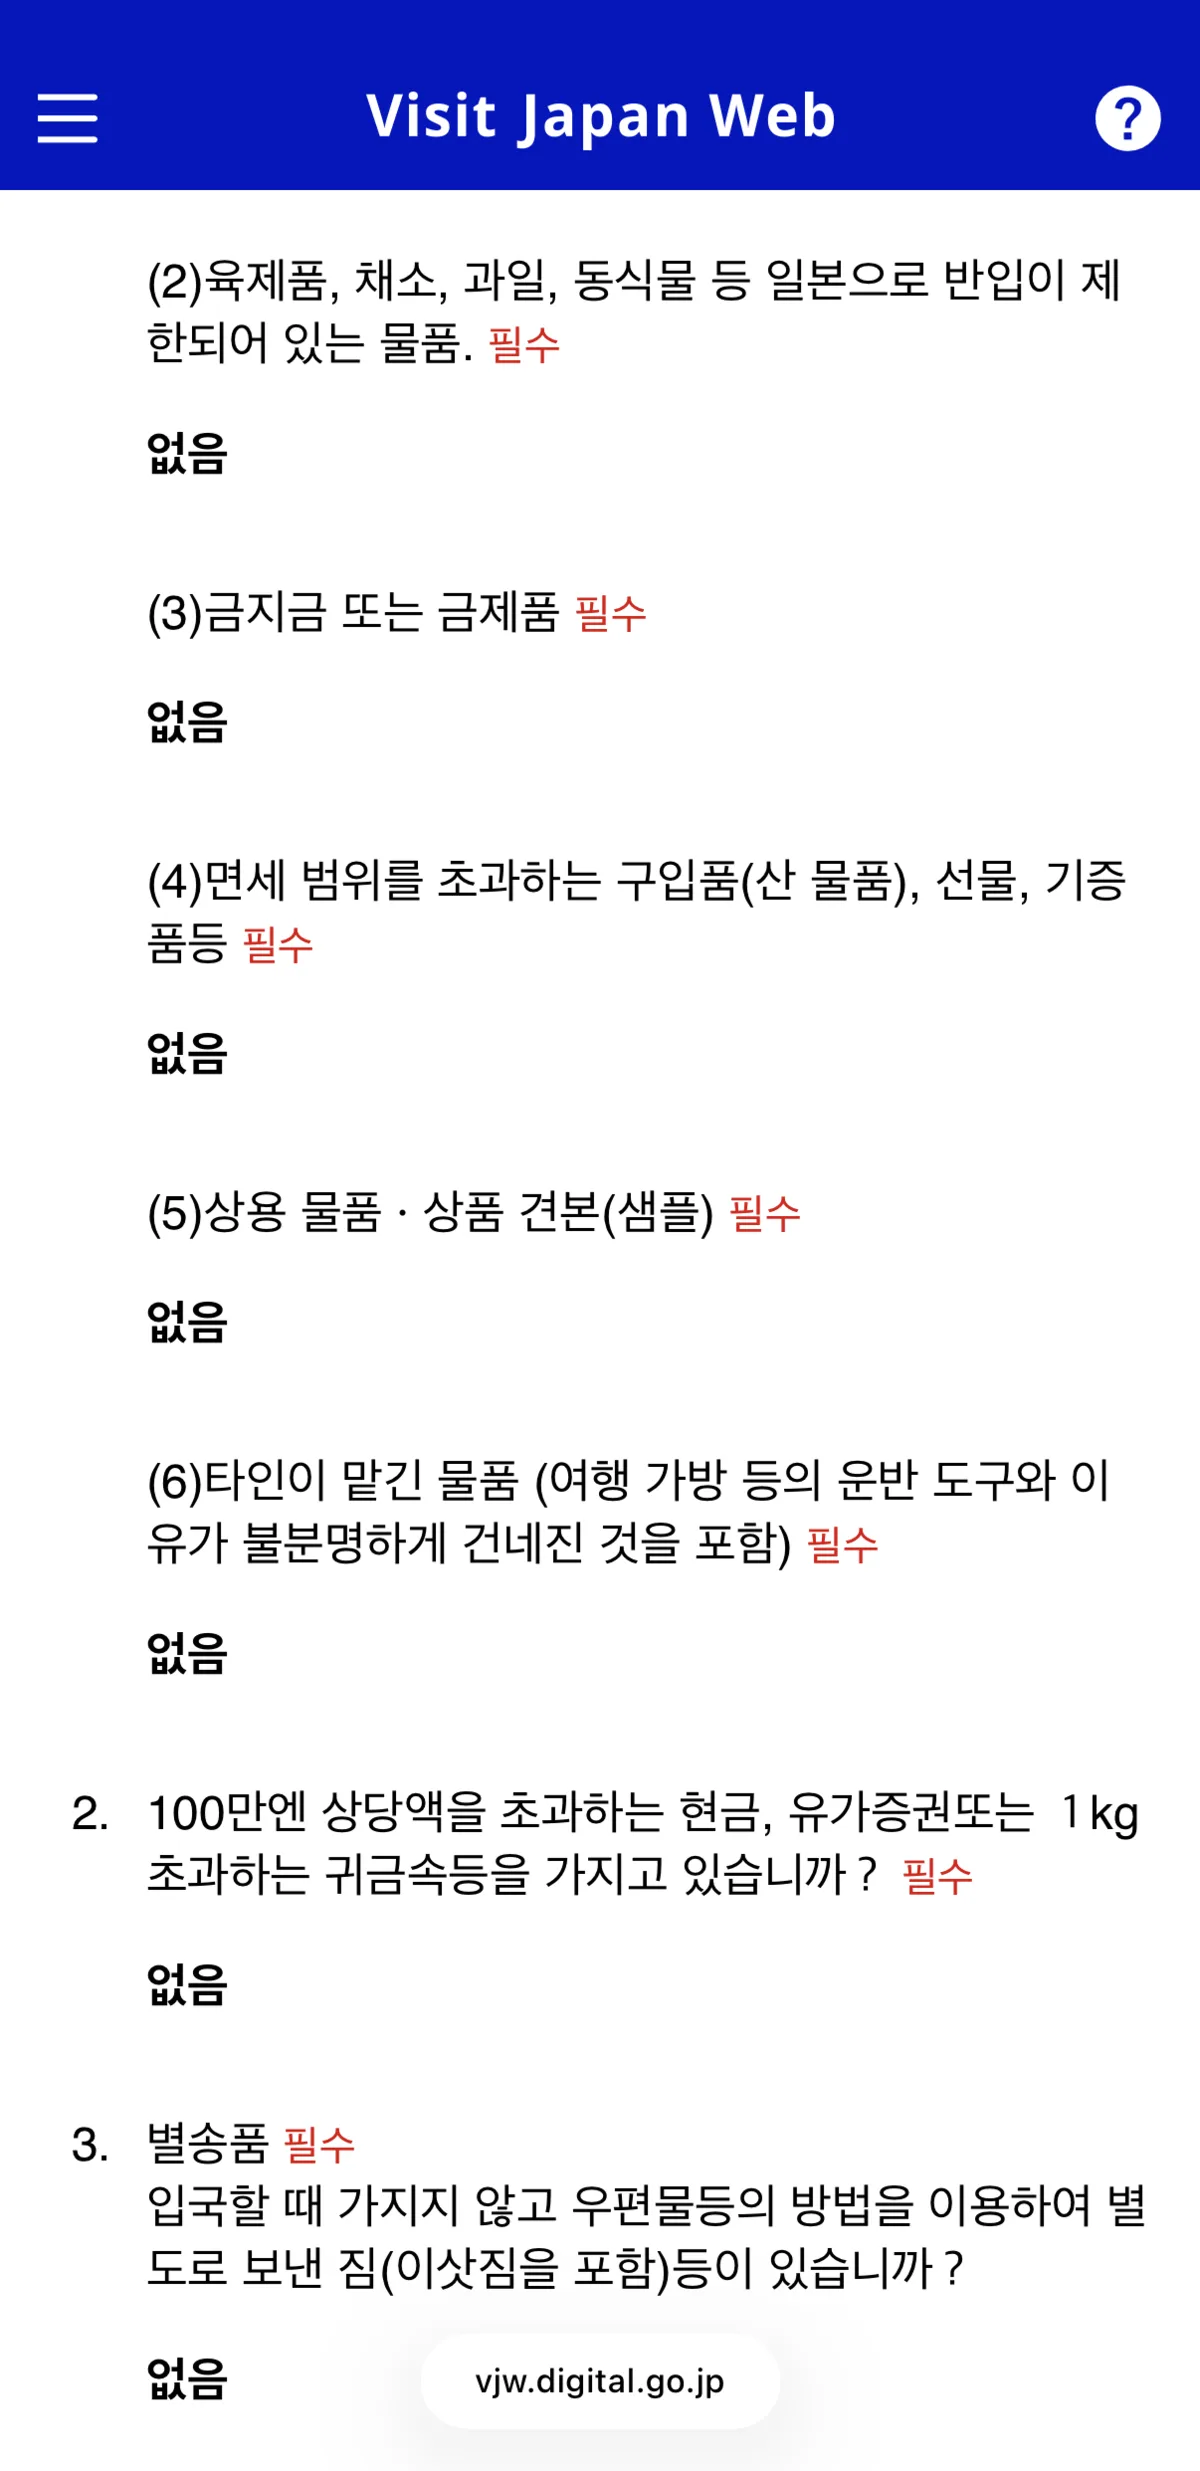
For the customs questions, answer truthfully — for most travelers, all answers will be “None.” Once completed, you’ll see the confirmation screen.
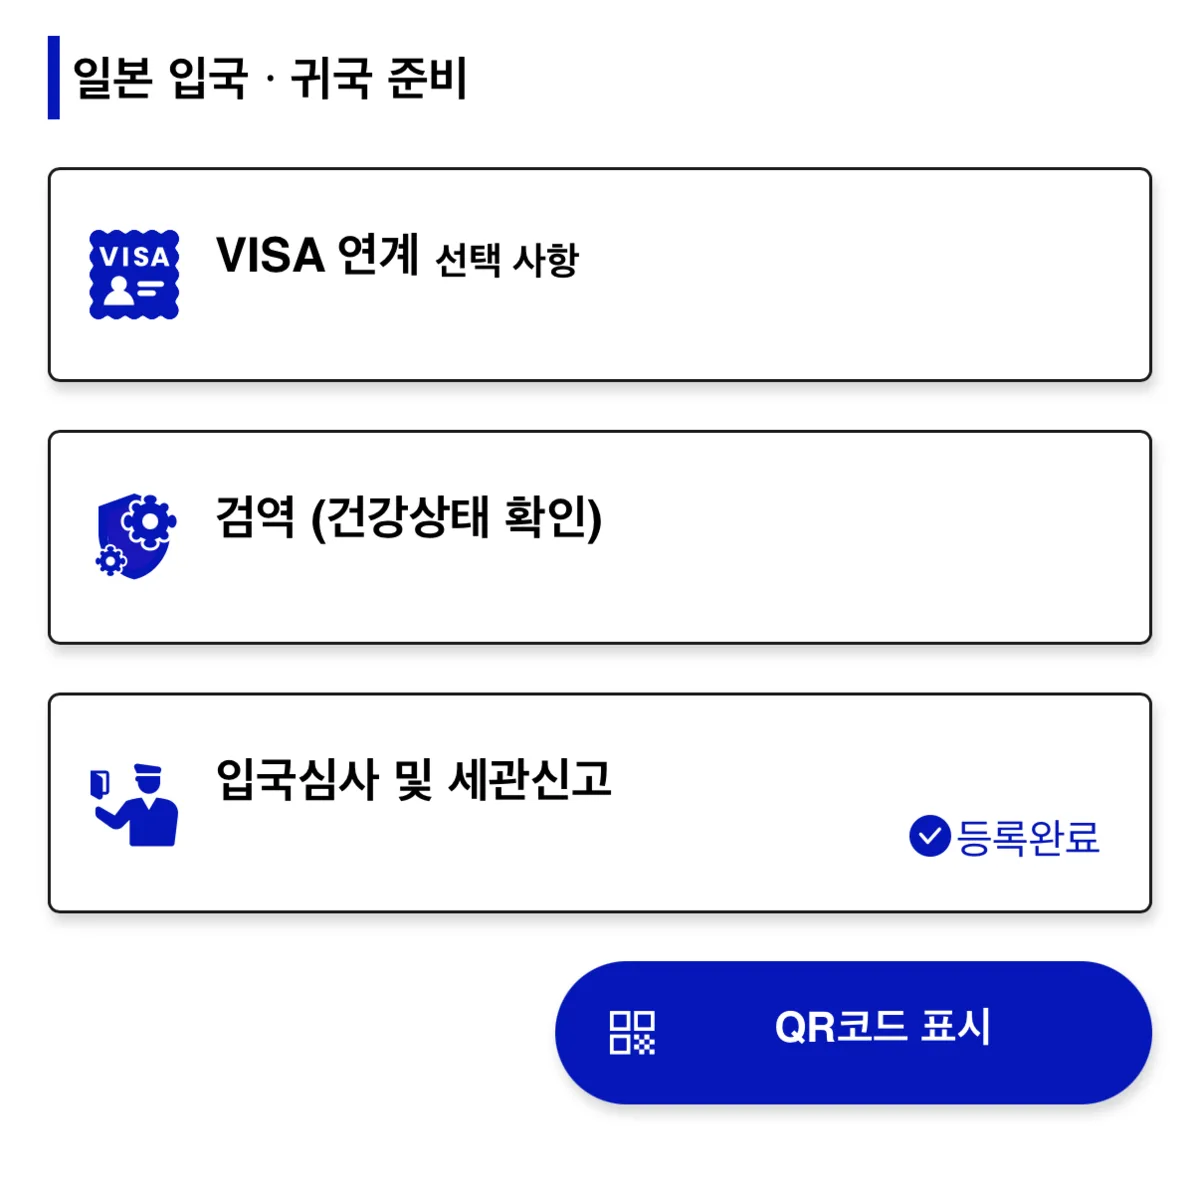
Tap the blue Show QR Code button.
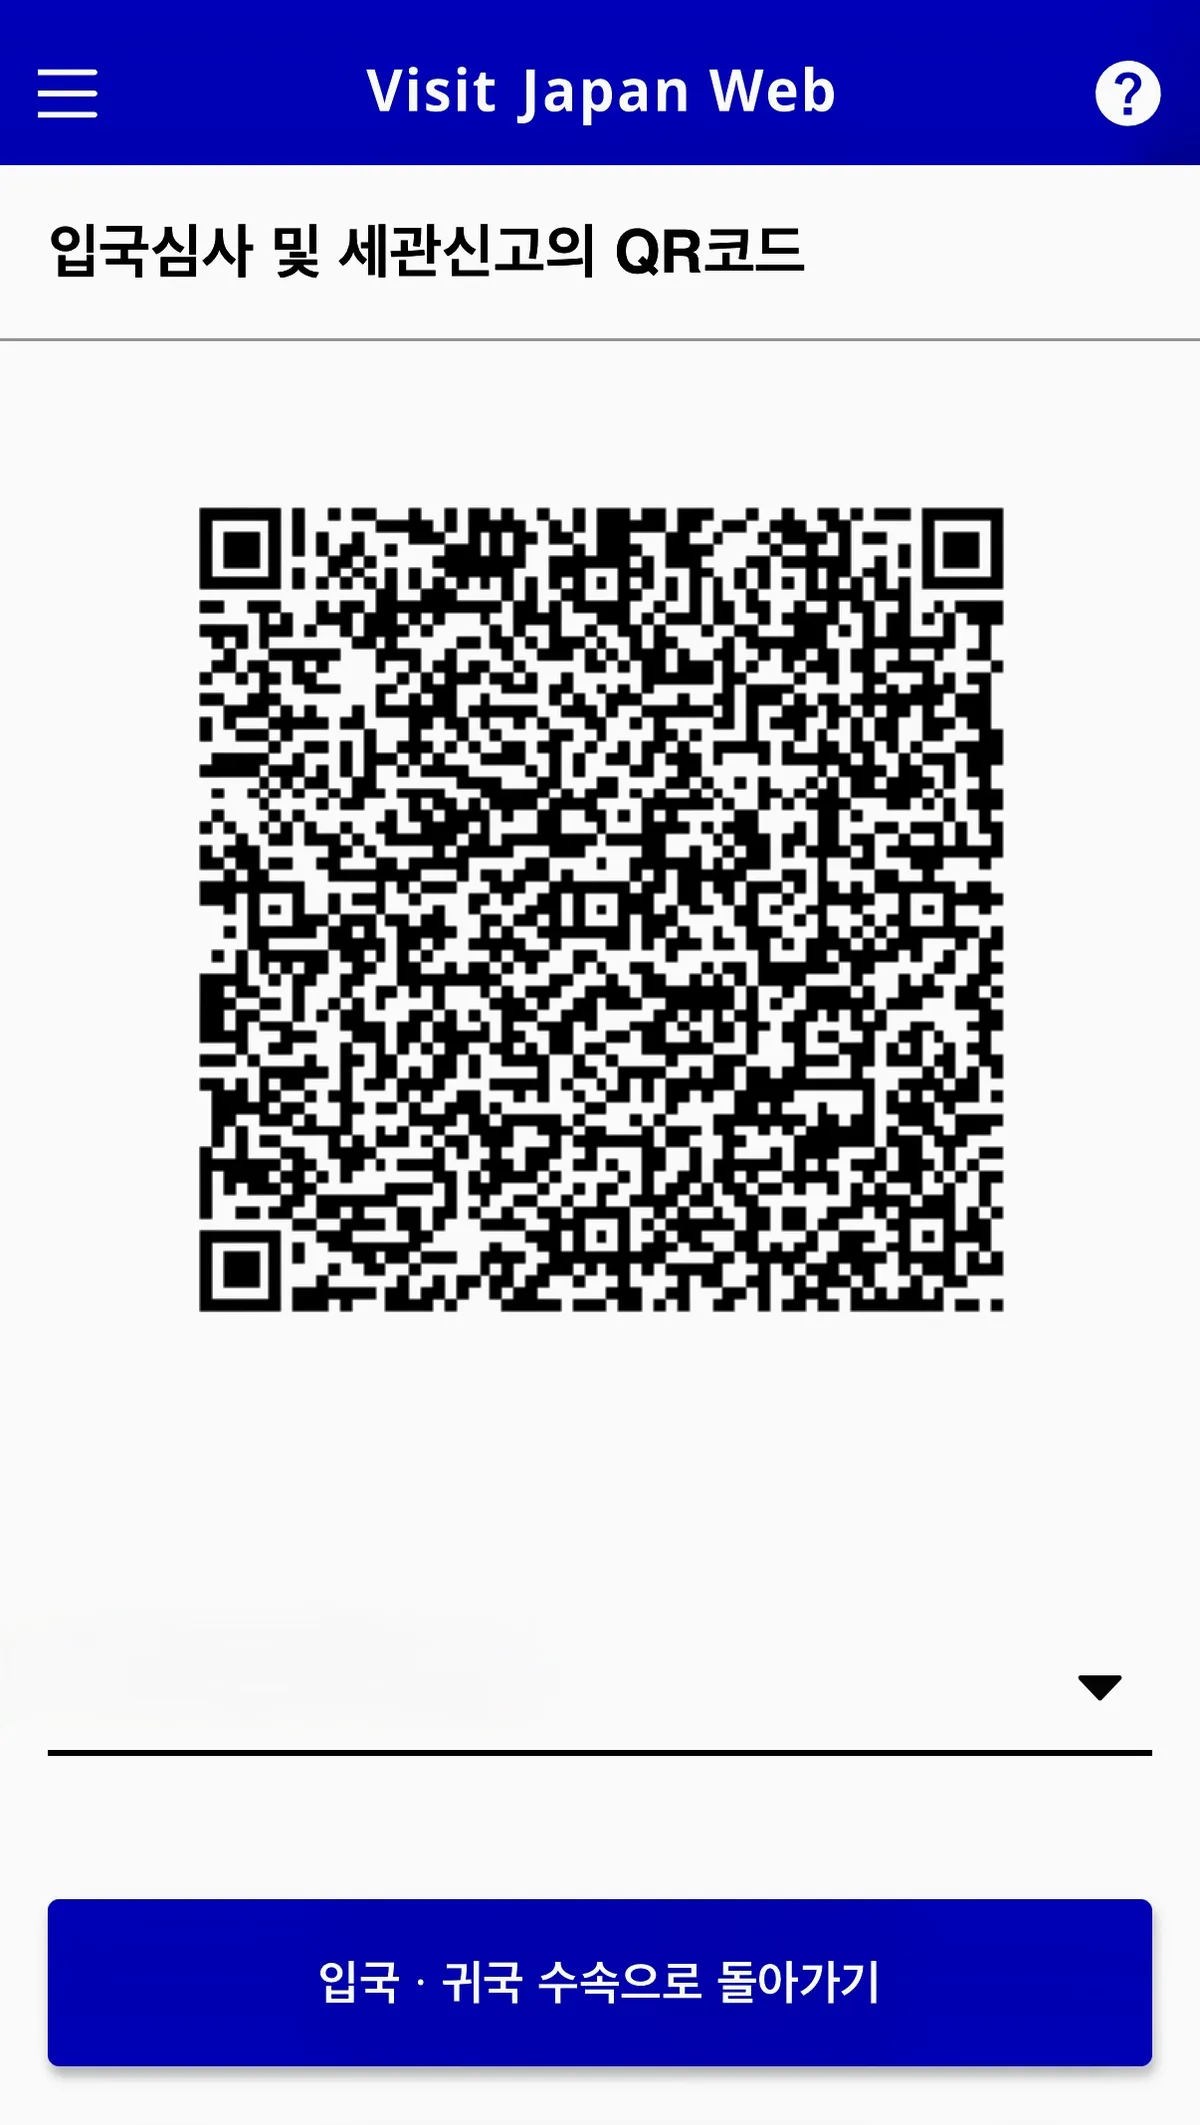
Take a screenshot of this QR code and save it.
This is the core of Visit Japan Web — screenshot it for offline access in case you don’t have a signal at immigration. If you registered companions, tap the triangle next to your name to access their QR codes as well.
Once you’ve done it once or twice, the whole process takes about 3 minutes. Arriving at immigration without this sorted out leads to much longer queues and extra paperwork — save yourself the hassle and get it done before you fly.
← Back to list